

Panasonic SD-2501 Bread Maker: A Comprehensive Guide
Welcome! This detailed guide, based on the Panasonic Sd-2501 Manual, will expertly navigate you through operation and optimization of your new bread-making experience․
The Panasonic SD-2501 is a versatile and user-friendly bread maker designed to simplify the process of baking fresh, homemade bread․ This model, detailed in the Panasonic Sd-2501 Manual, offers a convenient solution for individuals and families seeking to enjoy the aroma and taste of freshly baked goods without the complexities of traditional baking methods․
This bread maker isn’t just about convenience; it’s about control․ The manual emphasizes the ability to customize recipes, experiment with ingredients, and achieve consistent results․ Whether you’re a seasoned baker or a complete novice, the SD-2501 aims to deliver satisfying outcomes․ The guide provides step-by-step instructions, ensuring a smooth and enjoyable baking journey․
The SD-2501 boasts pre-programmed settings for various bread types, alongside options for customization, making it adaptable to diverse dietary needs and preferences․ It’s designed to make your life easier, offering optimal performance and longevity with proper care and maintenance, as outlined in the comprehensive user manual․
Unboxing and Initial Setup
Upon receiving your Panasonic SD-2501, carefully unpack the box and verify all components are present, referencing the parts list within the Panasonic Sd-2501 Manual․ You should find the bread maker unit itself, the bread pan, the kneading blade, a measuring cup, a measuring spoon, and this essential user manual․
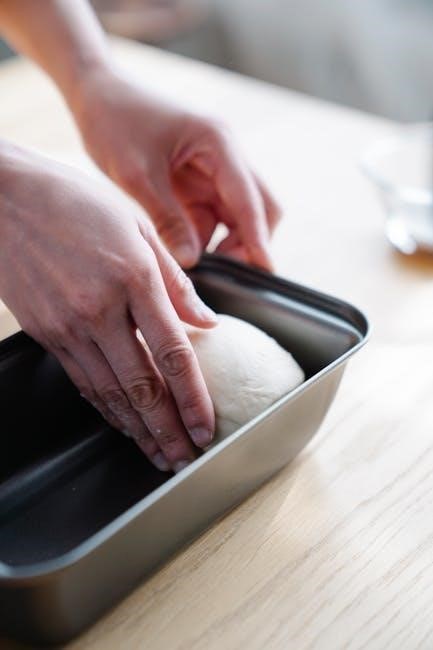
Before the first use, thoroughly wash the bread pan and kneading blade with warm, soapy water․ Ensure they are completely dry before placing them back into the unit․ Position the bread maker on a stable, level surface, away from water sources and direct heat․
Plug in the appliance and, as detailed in the manual, perform an initial test run without any ingredients․ This helps to eliminate any potential manufacturing odors․ The manual guides you through this process, ensuring a safe and properly initialized bread-making experience․ Familiarize yourself with the control panel before proceeding․
Key Features and Benefits
The Panasonic SD-2501, as outlined in the Panasonic Sd-2501 Manual, boasts a range of features designed for effortless bread making․ Its 13 pre-programmed settings cater to diverse bread types – from basic white loaves to whole wheat, French bread, and even dough for pizza or pasta․ The adjustable crust color control allows you to customize your bread’s exterior to your preference, offering light, medium, or dark crusts․
A significant benefit is the automatic ingredient dispenser, which conveniently adds fruits, nuts, or seeds at the optimal time during the baking cycle․ The delayed start timer, detailed in the manual, enables you to schedule baking up to 12 hours in advance, enjoying fresh bread whenever you desire․
Furthermore, the SD-2501 features a 15-hour timer and a keep-warm function, ensuring your bread stays fresh and warm for extended periods․ Its durable construction and user-friendly interface make it a valuable addition to any kitchen․
Understanding the Control Panel
Navigating the SD-2501’s control panel, as detailed in the Panasonic Sd-2501 Manual, is straightforward, offering intuitive operation for selecting settings and customizing your baking․
Button Functions Explained
The Panasonic SD-2501 boasts a user-friendly control panel, and understanding each button’s function, as outlined in the Panasonic Sd-2501 Manual, is key to successful bread making․ The ‘Start/Stop’ button initiates and halts the bread-making cycle․ ‘Menu’ allows you to scroll through the various pre-programmed settings – Basic, Whole Wheat, French, and more․
‘Crust Color’ adjusts the darkness of the crust, offering options from light to dark․ The ‘Loaf Size’ button selects between 1․5lb and 2lb loaves, catering to different household needs․ ‘Timer’ enables delayed starts, allowing you to enjoy fresh bread when you wake up or return home․ The ‘Quick Bake’ function speeds up the process for faster results․ Finally, the ‘Pause/Cancel’ button provides control to interrupt or terminate a cycle if needed, offering flexibility during operation․
Display Indicators and Their Meanings
The SD-2501’s display panel, detailed in the Panasonic Sd-2501 Manual, utilizes several indicators to communicate the bread maker’s status․ “Preheat” illuminates when the unit is warming up, ensuring optimal yeast activation․ “Knead” signifies the dough mixing phase, crucial for gluten development․ “Rise” indicates the proofing stage, where the dough expands․ “Bake” shows the baking process is underway, transforming the dough into bread․
A “Keep Warm” indicator signals the bread is finished and being held at a warm temperature․ “Timer” illuminates when the delayed start function is active․ Error codes, displayed numerically, alert you to potential issues – consult the manual for specific solutions․ The remaining time display shows the estimated time left in the current cycle, providing convenient monitoring․ Understanding these indicators ensures informed operation and troubleshooting․
Setting the Clock
Accurate timekeeping is essential for utilizing the Panasonic SD-2501’s delayed start timer, as outlined in the Sd-2501 Manual․ To set the clock, first, press and hold the “Hour” button until the correct hour appears on the display․ Then, press the “Minute” button to adjust the minutes․ Ensure you observe the AM/PM indicator; adjust accordingly if necessary․
The clock setting is retained even after the bread maker is unplugged, thanks to its internal memory․ Regularly verifying the clock’s accuracy is recommended, especially after power outages․ Proper clock configuration guarantees the delayed start function operates as intended, delivering freshly baked bread precisely when you desire․ Refer to the manual’s diagrams for visual guidance during this process․
Bread Making Basics
Essential foundations for successful baking, as detailed in the Panasonic Sd-2501 Manual, involve precise ingredient measurements, appropriate yeast selection, and optimal water temperatures․
Ingredient Measurement and Quality
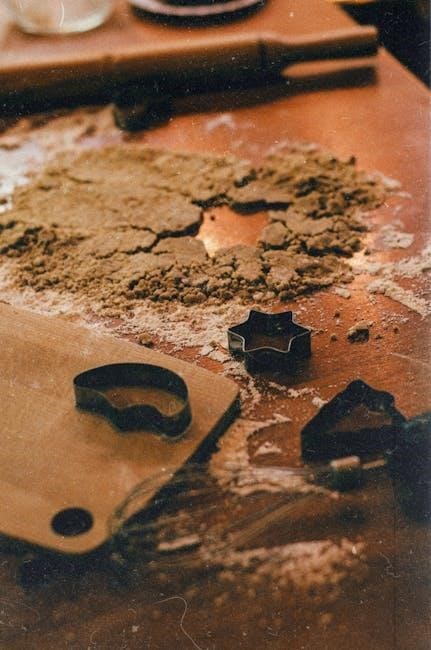
Accuracy is paramount when baking with your Panasonic SD-2501, as highlighted in the manual․ Precise measurements, ideally using a kitchen scale, ensure consistent results․ Flour, a key component, should be measured correctly – spooning and leveling is recommended over scooping․
Ingredient quality significantly impacts the final product․ Use fresh yeast, and store it properly to maintain its potency․ Opt for bread flour with a higher protein content for a better rise and texture․ Water quality also matters; filtered water is often preferred․
The manual emphasizes that variations in ingredient brands and types can affect the outcome․ Experimenting with different flours and additions is encouraged, but always start with the recommended quantities outlined in the provided recipes․ Consistent ingredient quality leads to consistently delicious bread!
Yeast Types and Usage
The Panasonic SD-2501 manual details the importance of understanding yeast․ Primarily, the bread maker functions optimally with instant dry yeast, also known as bread machine yeast․ This type doesn’t require proofing before use, simplifying the process․ Active dry yeast can be used, but requires proofing in warm water with a pinch of sugar for 5-10 minutes to ensure viability․
Proper yeast usage is crucial․ The manual specifies the correct amount of yeast based on the recipe and loaf size selected․ Using too much yeast can cause the bread to rise too quickly and collapse, while too little results in a dense loaf․
Storage impacts yeast’s effectiveness․ Keep yeast in an airtight container in a cool, dry place․ Expired yeast will yield poor results, so always check the expiration date before use, as detailed in the user guide․
Water Temperature Guidelines
The Panasonic SD-2501 manual emphasizes precise water temperature for optimal yeast activation and dough development․ Generally, water temperature should fall between 80°F (27°C) and 90°F (32°C)․ This range provides the ideal environment for yeast to thrive without being killed by excessive heat․
Too cold water will slow down yeast activity, resulting in a prolonged rise and potentially a dense loaf․ Too hot water, conversely, can kill the yeast, rendering it ineffective and preventing the bread from rising at all․
Using a thermometer is recommended to ensure accuracy, especially in varying climates․ The manual suggests checking the water temperature before adding it to the other ingredients․ Consistent temperature control, as outlined in the guide, is key to consistently successful bread making․

Using Pre-Programmed Settings
The Panasonic SD-2501 manual details convenient pre-programmed cycles for various bread types, simplifying baking and ensuring consistently delicious results every time․
Basic Bread Setting
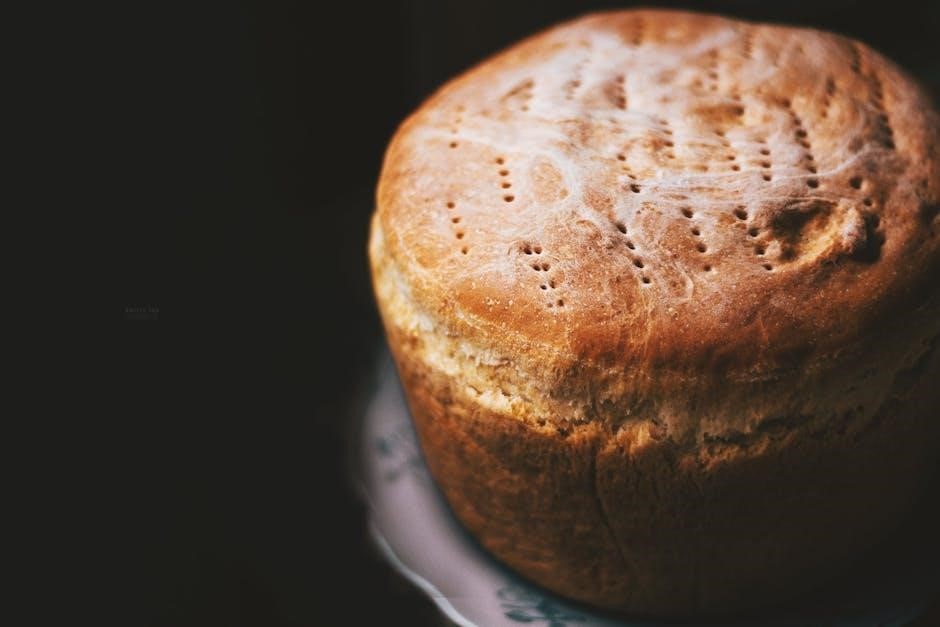
Utilizing the Basic Bread setting on your Panasonic SD-2501, as outlined in the manual, is the ideal starting point for novice bakers․ This pre-programmed cycle is designed for standard white bread recipes, offering a balanced kneading, rising, and baking process․
The manual recommends using approximately 300g of bread flour, 180ml of water, 1 teaspoon of dry yeast, 1 teaspoon of sugar, and 1/2 teaspoon of salt for optimal results․ Ensure ingredients are added in the order specified – liquids first, then dry ingredients, with yeast added last, avoiding direct contact with liquids․
Select the desired loaf size (2․5lb or 1․5lb) and crust color (light, medium, or dark) using the corresponding buttons․ Press ‘Start’ to initiate the cycle, which typically lasts around 3 hours and 30 minutes․ The manual emphasizes that consistent ingredient measurement is crucial for successful baking with this setting․
Whole Wheat Bread Setting
The Whole Wheat setting on the Panasonic SD-2501, detailed in the user manual, is specifically calibrated for recipes containing a significant proportion of whole wheat flour․ This cycle adjusts kneading and rising times to accommodate the denser nature of whole wheat, ensuring a lighter, more evenly textured loaf․
The manual suggests a recipe of approximately 250g bread flour and 50g whole wheat flour, alongside 170ml water, 1․5 teaspoons yeast, 1 tablespoon sugar, and 0․75 teaspoon salt․ Due to whole wheat’s absorbent properties, slightly more liquid may be needed․
Select your preferred loaf size and crust color․ The cycle duration is typically around 3 hours and 50 minutes․ The manual advises that using vital wheat gluten (1-2 tablespoons) can improve the loaf’s rise and structure when working with higher percentages of whole wheat flour․
French Bread Setting
The French Bread setting, as outlined in the Panasonic SD-2501 manual, is designed to create loaves with a crisp crust and airy interior, characteristic of traditional French bread․ This cycle utilizes a specific kneading pattern and longer rising periods to develop gluten effectively․
The manual recommends a recipe featuring high-gluten bread flour, water, yeast, and salt – simplicity is key․ A typical recipe includes 300g bread flour, 210ml water, 2 teaspoons yeast, and 1 teaspoon salt․ Avoid adding sugar or fat, as these can inhibit crust formation․
Select your desired loaf size and crust color․ The cycle duration is approximately 3 hours and 30 minutes․ For an authentic French loaf, the manual suggests adding a small amount of water to the bread pan before starting the cycle to create steam during baking, enhancing crust crispness․
Customizing Your Bread
Explore creativity! The Panasonic SD-2501 manual empowers you to personalize loaves by adjusting crust color, loaf size, and incorporating delightful additions like fruits and nuts․
Adjusting Crust Color
Achieving your perfect crust is simple with the Panasonic SD-2501․ The bread maker offers a range of crust color settings, allowing you to tailor the bread’s exterior to your preference․ According to the manual, these settings typically include Light, Medium, and Dark – though specific terminology may vary slightly depending on the model version․
To adjust the crust color, use the “Crust Color” button on the control panel․ Each press of the button cycles through the available options․ The display will indicate the currently selected crust color․ A lighter setting results in a paler, softer crust, ideal for sandwiches or those who prefer a delicate texture․ Conversely, a darker setting produces a richer, more robust crust, perfect for enjoying with soups or simply savoring its crispness․
Experimentation is encouraged! Start with the Medium setting and adjust accordingly based on your desired outcome․ Remember that factors like ingredient ratios and room temperature can also influence the final crust color, so slight adjustments may be necessary to achieve consistent results;
Adjusting Loaf Size
The Panasonic SD-2501 offers the flexibility of baking loaves in different sizes, catering to varying household needs and appetites․ The manual details options for selecting between a 1․5lb and a 2lb loaf․ This feature is crucial for efficiently managing bread consumption and minimizing waste․
To adjust the loaf size, locate the “Loaf Size” button on the control panel․ Pressing this button toggles between the available options․ The selected loaf size will be clearly displayed on the machine’s screen․ A smaller loaf is ideal for smaller families or individuals, while the larger size is suitable for larger households or those who enjoy having extra bread on hand․
Consider the recipe when choosing a loaf size․ Some recipes are specifically formulated for a particular loaf size, and deviating from the recommended size may affect the final result․ Always refer to the recipe instructions for guidance․
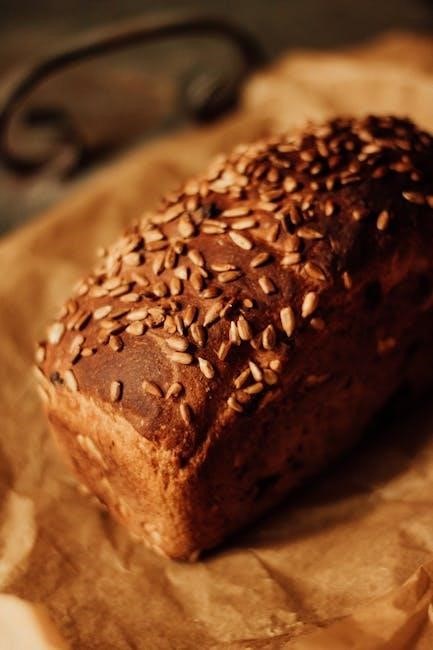
Adding Fruits, Nuts, and Seeds
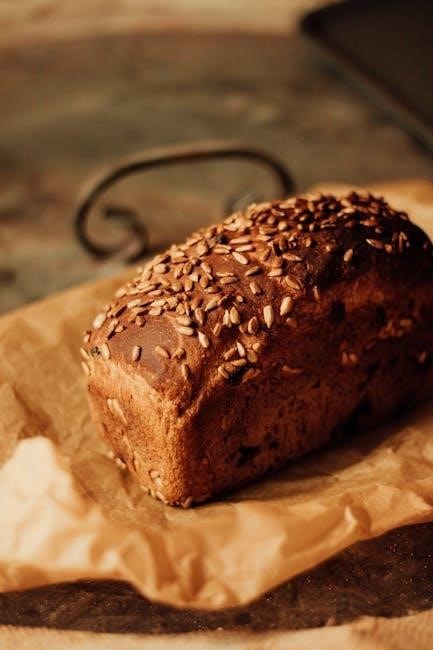
Enhance your homemade bread with delightful additions! The Panasonic SD-2501 manual guides you on incorporating fruits, nuts, and seeds for customized flavor and texture․ It’s recommended to use ingredients cut into small, uniform pieces to ensure even distribution throughout the loaf․
The dispenser is key for timed additions․ The bread maker features an automatic ingredient dispenser, perfect for ingredients that should be added later in the baking cycle, like delicate fruits or nuts․ Simply place the ingredients into the dispenser before starting the cycle, and the machine will add them at the optimal time․
Avoid overloading the dispenser․ Overfilling can cause jams and uneven mixing․ The manual specifies maximum capacities for the dispenser․ For hand additions, add ingredients during the kneading phase, ensuring they are well incorporated into the dough․
Maintenance and Troubleshooting
Keep your bread maker in top condition! The Panasonic Sd-2501 Manual details cleaning procedures and offers solutions for common error codes, ensuring longevity․
Cleaning the Bread Pan and Kneading Blade
Maintaining cleanliness is crucial for optimal performance and bread quality, as detailed in the Panasonic Sd-2501 Manual․ Always disconnect the bread maker from the power outlet before cleaning․ The bread pan and kneading blade are typically non-stick coated; therefore, avoid abrasive cleaners or scouring pads that could damage the surface․
After each use, allow the pan and blade to cool completely․ Then, wash them with warm, soapy water․ For stubborn residue, soak the pan in warm water for a period before washing․ The kneading blade can be removed from the bread pan for easier cleaning․ Ensure both are thoroughly dried before reassembling and storing․
Dishwasher Safety: The manual specifies whether these components are dishwasher safe – always verify this before placing them in the dishwasher․ Regular cleaning prevents buildup and ensures consistent baking results․ Proper care extends the lifespan of your Panasonic SD-2501 bread maker․
Common Error Codes and Solutions
The Panasonic Sd-2501 Manual outlines several error codes to help diagnose issues during operation․ A common code, “E01,” often indicates a power interruption or a problem with the heating element․ Ensure the bread maker is securely plugged into a functioning outlet․ “E02” typically signals an issue with the temperature sensor; contacting customer support is advised in this case․
If you encounter “E03,” it suggests a problem with the lid sensor – verify the lid is properly closed and latched․ Other codes may relate to ingredient imbalances or motor overload․ Always refer to the manual’s troubleshooting section for specific code definitions and recommended solutions․
Resetting the machine by unplugging it for a few minutes can sometimes resolve minor errors․ If problems persist, consult the Panasonic support website or contact their customer service for further assistance․ Ignoring error codes can lead to more significant damage․
Long-Term Storage and Care
According to the Panasonic Sd-2501 Manual, proper storage and care will maximize the lifespan of your bread maker․ Before long-term storage, ensure the appliance is completely dry and clean, including the bread pan and kneading blade․ Store in a cool, dry place, away from direct sunlight and extreme temperatures․
Avoid storing anything on top of the bread maker, as this could cause damage․ Periodically, wipe down the exterior with a damp cloth to remove dust and debris․ The manual recommends avoiding abrasive cleaners, which can scratch the surface․ If the appliance hasn’t been used for an extended period, inspect the power cord for any signs of damage before use․
Regular cleaning and careful storage will help maintain optimal performance and prevent potential issues․ Following these guidelines ensures your Panasonic SD-2501 remains a reliable kitchen companion for years to come․